
⏱️ 5 min read
•
✓ Updated & Verified
Connecting your WordPress website to Google Antigravity represents a fundamental shift in content operations. Instead of manually copy-pasting text back and forth between a chatbot window and the WordPress editor, your AI assistant can now draft articles, organize Gutenberg blocks, create tags, upload media, and manage published content autonomously.
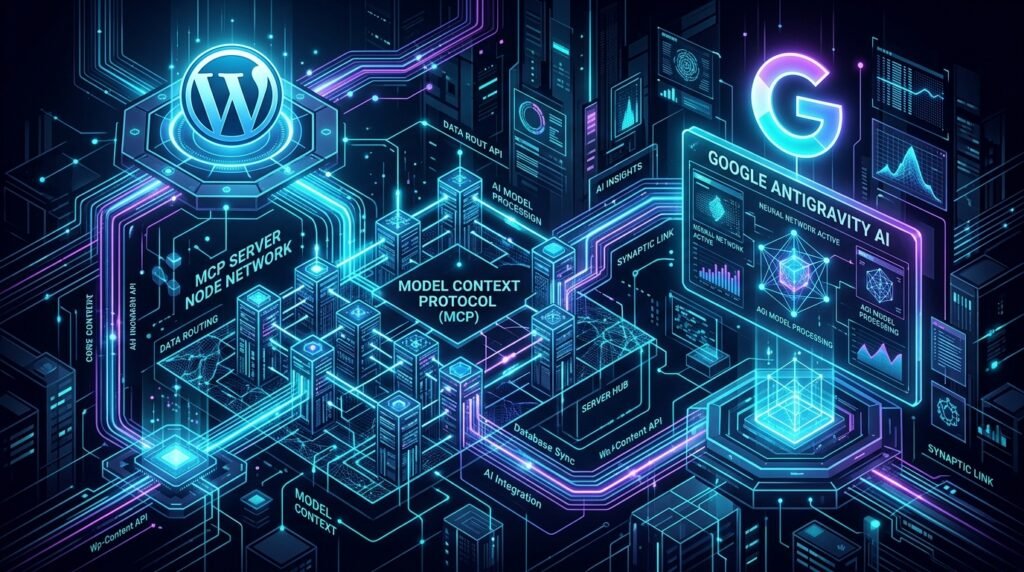
By combining the new Model Context Protocol (MCP) with the Easy MCP AI plugin, you can establish a secure, bidirectional bridge to your website in less than 5 minutes—with zero coding required.
📌 Key Takeaways (At a Glance)
- What MCP Does: It serves as a standardized universal adapter, allowing Google Antigravity to perform native actions inside WordPress.
- No Coding Needed: The Easy MCP AI plugin turns WordPress into an MCP server with simple point-and-click settings.
- Granular User Access: You control exactly which tools the AI can access (e.g. drafting only, media uploads, or restricting delete permissions).
- One-Click Prompt: Once your token is generated, simply paste a 3-line prompt into Antigravity to connect instantly.
Table of Contents
1. What is an MCP Server? (In Plain English)
To appreciate why this workflow is so transformative, it helps to understand the Model Context Protocol (MCP). Think of an MCP server like a universal USB-C adapter for AI.
Historically, large language models (LLMs) lived in isolated sandboxes: they could generate text inside a browser window, but they had no hands to interact with your CMS. An MCP Server acts as a secure, real-time bridge. It translates plain-language chat instructions into concrete REST operations:
- Creating structured Gutenberg posts and drafting content directly into the database.
- Uploading and attaching featured imagery to the WordPress Media Library.
- Auditing tags, categories, excerpts, and post metadata for SEO optimization.
- Reviewing comment moderation queues and page revisions.
2. The 4-Step Setup Guide
Install the Easy MCP AI Plugin
The fastest and most reliable way to make WordPress MCP-ready is by installing the Easy MCP AI plugin:
- Log in to your WordPress dashboard (
yourwebsite.com/wp-admin). - Navigate to Plugins → Add New Plugin.
- In the search bar, type “Easy MCP AI”.
- Click Install Now, then click Activate.
Configure User Access & Tool Permissions
A key advantage of Easy MCP AI is granular security. You maintain full oversight over what the model can execute:
- Navigate to Settings: In your WordPress menu, open Easy MCP AI → Settings (or User Access).
- Enable Safe Tools: Turn on
create_post,update_post,read_post, andupload_media. - Restrict Destructive Actions: Keep
delete_postanddelete_mediadisabled to avoid accidental loss. - Enable “Force Draft on Create”: This essential safety switch forces all newly generated articles into Draft mode so you can review them prior to publication.
💡 Editor’s Tip: Set up a dedicated WordPress user account (such as ai-editor) assigned the Editor role rather than giving the AI your root Administrator credentials.
Create Your User Access Token
Generate a secure Application Password so Google Antigravity can authenticate safely:
- Go to Users → Profile (or Users → All Users).
- Scroll down to the Application Passwords section.
- In the name field, enter:
Google Antigravity. - Click Add New Application Password.
- Copy the 24-character token generated (e.g.
abcd 1234 efgh 5678 ijkl 9012).
Download Antigravity & Connect via Chat
Download the Antigravity desktop IDE from antigravity.google/download (available for Windows, macOS, and Linux).
Once installed, open a new chat window and paste the following prompt (substituting your details):
3. Practical Workflows to Run Today
Once your bridge is active, you can interact with WordPress naturally. Here are three high-impact editorial workflows modeled on top digital newsrooms:
1. Structured Article Drafting
“Draft an 800-word article titled ‘The Top Web Development Trends for 2026’ with H2 headings, bullet lists, and a takeaways callout. Save it as a draft post on WordPress under the ‘Tech’ category and return the edit link.”
2. Automated Featured Image Generation & Upload
“Create a modern 16:9 banner illustration representing ‘Cloud Computing Architecture’. Upload it directly to my WordPress media library and set it as the featured image for my new post.”
3. Site-Wide SEO & Taxonomy Audit
“Inspect my 5 most recently published posts. Check if any lack an excerpt, have fewer than two tags, or lack a featured image. Present your findings in a clean table and suggest improvements.”
The Bottom Line
Autonomous publishing is no longer reserved for enterprise engineering teams. By pairing WordPress with Google Antigravity through Easy MCP AI, creators and digital publishers can eliminate hours of repetitive administration and focus exclusively on high-value creative strategy.
Published exclusively for blog360deg.com. Questions or setup feedback? Let us know in the comments below!